Banners are a great way to showcase important information or featured content on your website. With the Banner Settings, you can easily add and customize Banners to enhance the visual appeal of your website. To customize the Banners on your website, follow these steps:
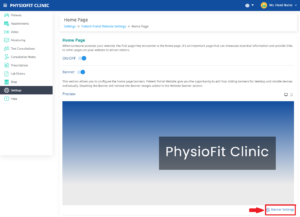
To access the Banner Settings, log in to your Patient Portal Website Settings and navigate to the Homepage of the Patient Portal Website. Navigate to Banner Settings available in the Banner Section Of the Home Page. You can view a Preview of the Banner from the Home Page.

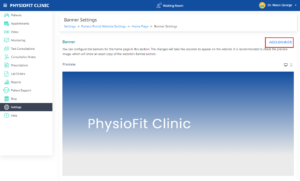
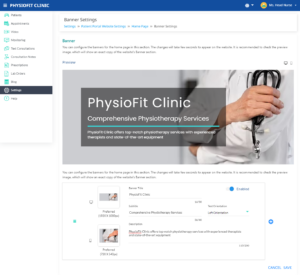
In the Banner Settings page click on the “ADD Banner”. In the Section to Add the Banner Image you can add separate Banner images for desktop and mobile versions of the website. The Banner Image add section includes an image cropper, you can resize and rotate the image as required. You may also align the text to the right or left.
 If you want to add multiple Banners, simply click the “+” icon on the Banner Settings Page.
To rearrange the order of the Banners, drag and drop them within the table. The preview section at the top of the page will show you how the Banners will appear on the website.

To control the display of Banners on your website, use the enable/disable option for each Banner. You can also use ‘-’ to delete a Banner Section Added. Please note that deleted Banners cannot be restored, so make sure you want to remove a Banner before confirming the deletion. Click the “Save” button to update the changes. Remember to regularly review and update your Banners to keep your website fresh and engaging for your visitors.
